Friday 29 May 2015

'She Wears the Pants': Japanese Sewing Book Review

I have been a fab of Japanese sewing books for some years both for inspiration and to make clothing and I follow Japanese Sewing Books blog to catch  the latest releases.  Back in March, I saw that  'She Wears the Pants' by Yuko Takada, (formerly known as 'She Has Mannish Style') was being re-released as an English translation by Tuttle Publishing.  
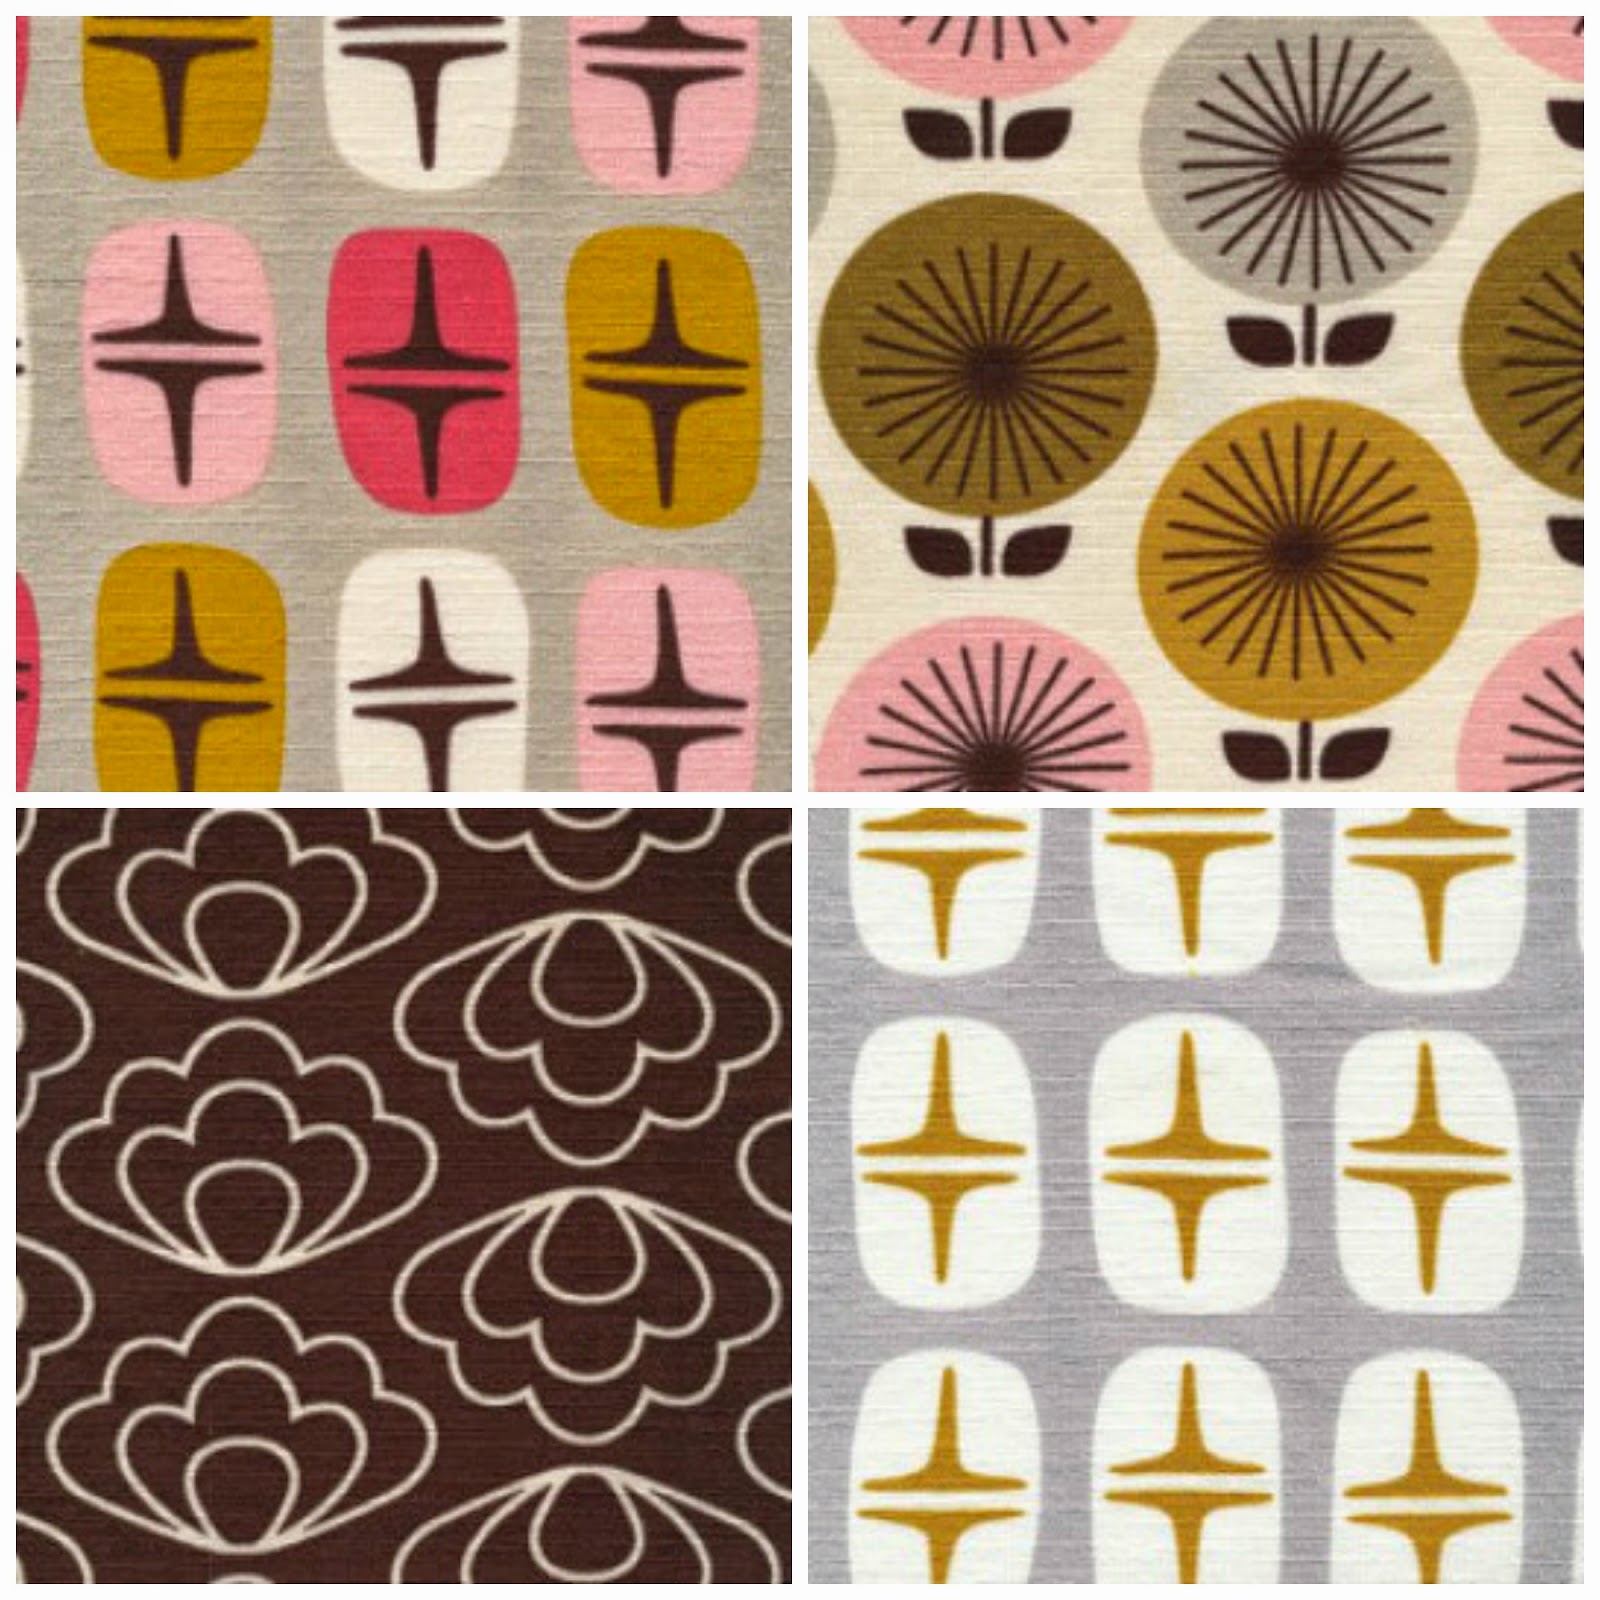
Tuttle Publishing have a series of Japanese titles translated into English.  I have Basic Black and Stylish Skirts both by Sato Watanabe and they are great value- lots of patterns included often for the price of just one pattern.  When they offered to send me this one to review, I did not hesitate!   The cover picture alone had me hooked (top No. 4) and the Epaulaette top is what I sewed up to give the instructions a thorough review!


But first, back to the book details.  I always want to see as many of the patterns as possible before I buy.  I recommend you look at Japanese Sewing Books blog, and Sew Busy Lizzy's blog post as well as here so that you can see photographs of most of the garment styles.  It is a book of everyday wear, mainly separates, all simple clean cut styles including pull on tops, tailored shirt, lots of jersey clothing, jackets, trousers, culottes, tippets (collars) and even a knitted wrap belt.


The matt paper and the heavily styled photographs with lots of dark fabrics can at times camouflage many of the more subtle details so you do need to study the photographs and the pattern details to see the garments close up.  The double breasted Oval Coat (No.1) looks more like a sleeveless jacket in the photo but in the detailed line drawing- one of my favourite features of Japanese sewing books- you can see it is actually a jacket and the knitted sleeves are part of the garment.  The welt pockets, the modern take on the leg o' mutton sleeve, the rounded collar and the lining- there is such a lot going on with this jacket and I like it all!  Plus the loose shape combined with knit rib sleeves could make this a relatively easy item to fit.  I see a winter project coming on!


I also liked these two styles.  I plan to try the  No.12 Draped Dress as a top in some rayon jersey for a test run and I also have a jersey back/double gauze front idea for that one too.   No.18 The Dotted Blouse is very much in the style of a man's shirt- no darts, just a straight, slim-fit shape with a rounded collar to soften and feminise the style.  Perfect for lawn.   Do note that the sizing is small which is usually the way with Japanese sewing books.  I fit between small and medium, even an L for my waistline.  Height is something to consider too.  The smallest size, XS, is  5' tall/153cm and the largest, L, is 5' 6"/168cm tall and the cut is boyish.  The styles are a mix of loose and close fitting and this influences these sizing I would choose.  For a loose style like the 04 Epaulettes top, I sized down a little to a small.  For the Dotted Blouse, I plan to size up and lengthen the body by 1"/2cm.  I am just under 5'5"/164cm tall.


Japanese sewing books tend to follow a similar layout and this is like others I have used.  There are two double-sided pattern sheets at the back of the book with full size nested patterns to trace off.  Seam allowances aren't included but in the layout diagrams you can see where they need adding and labels are added to indicate larger allowances e.g. for hems.


Each garment's pattern instructions indicates which sheet to look at for the pattern pieces and each sheet has an index of garments and which side of the sheet they are on.  At the edge of the sheets,  you can see the garment names written in a large bold typeface and arrows to the pattern pieces so although the pattern sheets can look a little muddled on first glance, I found it straightforward to follow the arrows and locate the pieces I needed.


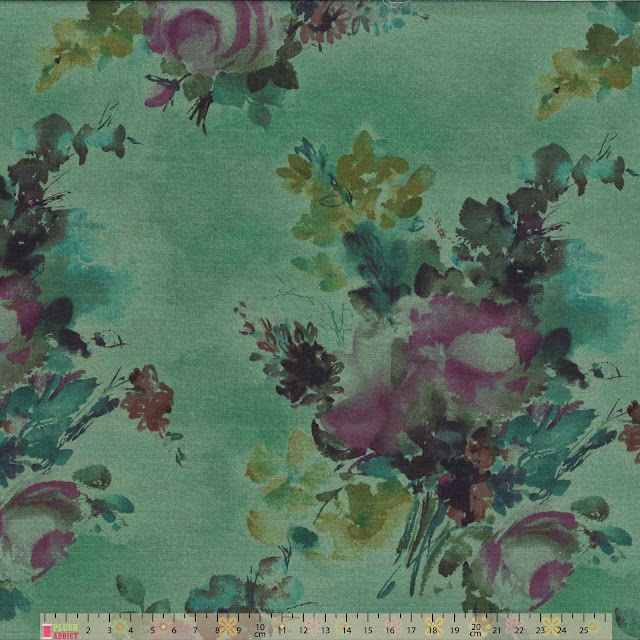
I love the epaulette detail, it lifts the top from being a standard t shirt to something a little more purposeful.  I used a viscose jersey from Plush Addict as I wanted something to drape well and have a little swing to it.  My only addition was to add knit stay tape, which is a narrow fusible knit interfacing similar to this one, to the neckline and the back shoulders as well as interfacing the neck facings as described in the pattern.  I use Perfect Fuse sheer fusible interfacing which is brilliant stuff and I use it for woven fabrics too.  I didn't sew a buttonhole on the epaulette; instead I just sewed the button on top as it is a decorative rather than functional addition.


There is a detailed section at the beginning of the book on different sewing techniques including jersey.   I found some of these a little convoluted to read and I couldn't quite work out what was going on.  On the hem and sleeve ends I used a double needle and I wish I hand''t as the fine jersey tunnelled a little- even with pressing.  The book suggests two rows of straight stitch and as the hem and cuffs are loose enough to do that without the stitches breaking, I will do that on the striped version I have planned next.  The instructions for this top were straightforward and the fabric cutting layout and fabric requirement was exactly as stated with very little wastage.


A few things to note:
  •  the garment instructions are not in chronological number order although the photographs are.  They are easy enough to find.
  • Some wording can be a little lost in translation. T-cloth is mentioned and I know Japanese Sewing Books took that to mean t-shirt weight jersey but it is a little unclear as 'knit' is mentioned for other stretch fabric garments like top 04.  I am guessing T-cloth is a type of knit fabric, maybe heavier?
  • Look at the line drawings in addition to the photographs.  You will often see a lot more detail in the drawings.
Garment stats

You can see more real life examples of the items in this book through these links:
Top with Epaulettes No.4  here
Velour blouse No.5 here, here and here
Square top No.6 here
Sarrouel Trousere No.8 here
Square top No.11 here
Tapered Trousers No.13 here
Draped Mini Dress No.12 here and here
Gathered blouse No. 17 here and here

What strikes me with all these makes seeing them worn, they all capture the same essence that is shown in the book and although that sounds obvious, it is not always the case for garments!  I felt the same about my top- it looked like the top in the book albeit with Pineapples.  It is a great book, and it has pushed me into a slightly different clothing style zone- I am even contemplating the culottes!

*This book was sent for free from Tuttle publishing, all opinions are my own*
sib blog

Thursday 28 May 2015

Add-A-Quarter Ruler: Review

Instagram can be a great chance to pick up tip from some very skilled people.  I follow Dan Rouse  (@dsrouse) on Instagram and as well as being an all round lovely person, I admire his work, his distinct individual style and the precision in his piecing.  When he mentioned the Add-a quarter ruler in a recent pic with the comment " I don't know how I lived without it", I thought this might be something I need too.  Justine at Simply Solids kindly offered to send me one to review and I said yes straightaway!


My usual go-to ruler for adding a quarter inch is a mini creative grids 1"x6" ruler.  It is handy but I do risk slicing my fingers off from time to time as it is a little small.  Justine sent me the larger Add-a-quarter which is 12" long- I believe the company make a mini 6" version too.


On the add-a quarter ruler, the numbered part is frosted and the quarter inch is clear and chunkier that the rest of the ruler with a lipped edge on the reverse side.  This can slide against either a template, or a seam on foundation paper piecing and it holds in place really well- much better than my mini ruler!


You can see how thick the lipped edge is compared to a standard quilting ruler. 


I am making the My Small World quilt at the moment and I am using templates for the majority of the pieces. I tested the Add-a-quarter ruler on adding a quarter inch border to the template pieces I am drawing on the reverse of fabric.    


Pink on pink seemed to be a good test.  The ruler is a simple but clever design.  The thicker transparent edge is the part to focus on and I placed this so I could see the pencil line and then slid it so the line was just inside the frosted section and then I trimmed the fabric with a 28mm rotary cutter.  As you can see, my fingers are safely out of the way and I can verify the ruler stayed put- no slipping or sliding.  To be honest, when I posted a pic on Instagram, it seemed like everyone else already had one, or more than one and I am kicking myself for not having bought one sooner!  I will be using this for foundation paper piecing which is what is is primarily designed for- trimming off all those excess seams to a quarter inch, but I found it idea for the many straight-line templates to add quarter inch borders to for the My Small World quilt along    You can buy one at Simply Solids, thank you to Justine for sending me one, and thank you to Dan for the nudge too!

*Disclaimer*  I was sent a free ruler to review by Justine at Simply Solids.  All opinions are my own- it is a great gadget and you can read more about the Add-a-quarter ruler inventor and see how to use it for foundation piecing here.  For social media fans, Simply Solids are offering a monthly competition on all purchases, just share with the hashtag #simplysolidsmakes for a chance to win a £25 voucher.

sib blog

Monday 25 May 2015

My Small World QAL: Part One

I know many of you have made a start on your 'My Small World' quilts by now and some of you are still waiting for the magazine or supplies to arrive.  Remember the pace is steady on this quilt-along, there are three week gaps between each of the six construction part posts for this quilt.  John is hosting part one and his post is here.   There are also some more errata to note- see later in this post.  In the meantime, here's my completed part one:


I worked on each mini block one at a time, only getting the fabrics out for each part so that chaos was contained.  I have made all the sky sections in advance for each part as it was easier to do that when I had the low volume fabric out.   I am not over analysing my choices.  I go with my instinct, create mini narratives within blocks and sew them all together.  The only thing I am mindful of is maintaining a medium level of contrast.  I am using the templates throughout and piecing on my vintage Bernina.  She sews a very accurate scant ¼" seam and for such small pieces, that really helps!

Katy of The Littlest Thistle is super-sizing her My Small World quilt.  I recommend  you read a detailed account of how she's doing it here, plus her thorough reading of the pattern  has uncovered more errata and Quiltmania have posted all correction details here.  **Edited to add, in Part 1 diagram 5- the instructions and diagrams do not match for Q rectangles and R strips- change the diagram labels- Q becomes R and R becomes Q then they match the written cutting instructions**.

I've had a few questions about templates so here is a blog version of some quick guidelines I posted on Instagram and some helpful links.  All the templates in the magazine are finished size and do not include seam allowances.   Do also refer to Quiltmania's corrections which include some template labels. 

1.  Trace the templates onto template plastic and cut out.  I use a Sewline ceramic pencil as it draw easily on the plastic. If you prefer  you can scan or photocopy the templates on to paper, back with card and cut out but these will not be as resilient as template plastic and can distort as they get drawn around.  

In the picture below, you can see a mini quilter's ruler, Sewline pencil, 28mm rotary cutter, quilter's wheel and a template cut out of template plastic.


2.  To use the template, place on the reverse of fabric and draw carefully around with a pencil- I use the Sewline pencil again.  This line will be your seam line. 


3.  You can either add the seam allowance with ruler and pencil as a ¼" border around the shape, or use a rotary cutter and a quilt ruler or an add-a-quarter ruler  and cut out the shape adding the ¼" border all round the shape.  Justine at Simply Solids just sent me one of these and I really wonder what I have been doing without one- I'll review it in detail later in the week but I've already heard how many people have one of these on Instagram and everyone loves them.  Now I can see why!


For curves or circles, a quilter's wheel is a great little tool and it works on straight lines too.  It is a little brass disc with a hole large enough to insert a pencil lead.  The disc edge rotates rests agains the template edge and with your pencil lead in the hole, the disc rotates around the shape creating the ¼" border.  You can then cut out with scissors.


There are lots of different approaches to templates, this is how I do mine.  Helen of Archie the Wonder Dog sent me a link to a great and highly detailed post at Linda Franz's blog on templates and freezer paper.  It is well worth a read as there are a plethora of excellent tips and these are some of the best I have read on the subject. 


If you can, visit the hashtag on Instagram #mysmallqal.  I love the different approaches coming through the picture feed and the help and advice being offered by other quilt-along sewers.   It is a truly inspiring community.  Jen has designed an amazing and at times challenging  pattern with skills that may take you out of your comfort zone but what a quilt to learn on!

sib blog

Saturday 23 May 2015

May at Eternal Maker

I saw last night that Eternal Maker are having a flash sale over the bank holiday weekend so I thought I'd better squeeze my May visit to Eternal Maker in this weekend so you can get full advantage of the discount!   No need for codes, prices have already been reduced by 15%. Sale ends Monday night.


I noticed a few days ago that the Cloud 9 barkcloth range by Jessica Jones had arrived and in a large selection of colour ways.  I love these!  They look great as bags and cushions and also as clothing which has a bit of structure to it.  Clockwise from top left: quadrant pink, sunburst olive, quadrant grey, ripple brown.


If you are new to barkcloth, the Cloud 9 version is a 100% organic cotton with a textured feel and more body than quilting cotton.  It has quite a rough feel so I would recommend lining clothing.  Jane of Handmade Jane gave some useful pointers in this post.  Defintely one to prewash and I think I would chose a wool or a hand wash programme too.   Here's a picture of the Sunburst Olive print up close.


You can see how the prints look made up into a bag here- that link includes a free pattern from Cloud 9.  I would chose the Emery Dress as my first choice of dress for this fabric!  


I would also suggest Liesl Gibson's City Stroll Wrap skirt which mentions heavier fabrics in it's fabric suggestions.


Anna Maria Horner's Folk Song collection is a quilting cottons retake on Little Folks- many of which were printed on either voile or flannel the first time round.  Little Folks was one of my favourite AMH collections ever so it is lovely to see this reissue.  The colours are so rich, there are great colour combinations and the patterns are a great interpretation of floral prints.  Find them all here, and these are my personal top prints and why I like them.   Baby Bouquet in dusk:  the mix of colours and the darker vibrant tones.


Diamond Mine in Ink.  There aren't many prints in this shade of blue and I like the Swedish flag style blue and yellow together!


Small Gathering in Azalea.  This is my favourite colour way of the Small Gathering prints. There's a lot going on in this print and the colours and painterly brush stroke leaves appeal to me.


I haven't used Peppered Cottons yet but I've heard they are a very soft texture and they look a little like chambray to me with their cross weave colours.  There are some beautiful bundles available.  This is Pastel.  I love how you can see the coloured weft threads in the selvedges  


This is a basics bundle.  A handy selection of neutrals. 


And for those of you who like darker rich colours, this bundle is called Jewel.


Some new solid colour double gauze has arrived and it is a little cheaper than the patterned Nani Iro prints and a good choice for tops,  shirts and baby clothes.


I think the top colour is wine and although it looks very dark here- it is in fact more of a deep redgrey, ivorychartreuse, apple, petrol, plum.  You may want to verify these colours with the Eternal Maker team!  A couple of pattern suggestions, a luxurious double gauze Colette Negroni men's shirt perhaps?  The pocket details would look mighty fine top stitched in cotton thread on a solid colour.


Liesl Gibsons 'Liesel+Co' women's wear patterns are a fresh arrival at Eternal Maker and double gauze is one of the suggested fabrics for the Gallery tunic and dress.  Liesl's patterns always have fantastic instructions with a superb level of detail.


Enjoy and remember the discount ends Monday evening!


sib blog

Friday 22 May 2015

Watch the Birdie: The Modern Medallion Workbook Bloghop

Welcome to the penultimate stop of The Modern Medallion Workbook blog tour.  This is a contributor book lead by Beth and Janice and as the title says it is very much a workbook with detailed instructions and technical diagrams  throughout.   All the contributors have been taking turns to reveal more about their quilts and design process and today it's me!


When I received the invitation to contribute to this book, it was not long after the start of Love Patchwork and Quilting magazine and Alexia Abegg's  Marcelle Medallion was heavily featured as an excerpt to promote her Liberty Love book.  It was such a popular quilt, especially on social media- I completed the centre during the Instagram quilt-along but never made it to the outer borders.  It kick started the return of the traditional Medallion quilt layout and gave it a modern twist and Alexia has another stunning design in this book.  My invite for the workbook came near the end of 2013 and I did hesitate- I wasn't sure I could come up with a suitable Medallion style design but as often happens for me, an idea popped into my head and I couldn't let go of it and my 'Watch the Birdie' quilt came quickly from there.


I am a big fan of vintage ceramics.  This china plate is by a German producer and although the colour is a bit dark for my taste I loved the simplicity of the pattern and I knew I wanted to incorporate the leaf and the circle into this quilt.  I am not a fast quilt maker and time was not on my side with this commission!  I used Sizzix drunkard path dies and trimmed the blocks down to make the leaf and bird shapes.  


With everything I make, I like a narrative to support the design.  With this quilt, the 'story' is bird migration.  The centre medallion represents summer with four simple Scandinavian bird motifs  surrounded by the first border of  summer flowers and leaves.  The strip border indicates the equinox, marking a moment of change.  The outer border shows the journey to autumn and winter seasons; the circles are the winter sun, the long triangles are the trees and the geese are the birds flying south!  I never said it was a complex story, just a notion of what is behind the design, something to hang the concept on.


The quilting is simple; a mix of echo quitling and some big stitch hand quilting to mark bird wings and a central flower.  The eyes are appliquéd felt circles.  I love the bright saturated colours, it makes for a happy modern baby quilt.  I generally find when I design something, I love it whilst I'm working on it but afterwards my attention has moved to other things.  However, with this quilt I am still really enamoured with it!  I am not quite sure where it is going to live but I like the coherence of the design and the relative simplicity. 


The border is a Liberty lifestyle print (now long out of print) that captured the colours perfectly.  I didn't have enough and I remember ordering it from Jessie at Sew and Quilt and she shipped it super fast!

If you want to read more about the other contributor quilts, the links are below. 


sib blog

Wednesday 20 May 2015

May at Plush Addict

For my May vist to Plush Addict the first thing I notice is that the website has had a makeover and it now has a more spacious layout and is easier to navigate.  There are large picture links that will take you to specific sections- I chose the Dressmaking link and that took me to more links to independent patterns, patterns, linings, threads, interfacing, zips and of course fabric!  A big arrival in the dress fabric at Plush Addict has been some very special Tana Lawn!


This is a 'seconds' quality Liberty lawn.  I've bought lots of Liberty seconds over the years.  Some are end of lines, some have printing faults that are barely noticeable and others have no obvious flaw.  Retro Chairs is one of my favourite Tana lawn prints- I love the colour combination!

If you prefer a more traditional Liberty print, you may plump for the botanical illustration beauty of Floral Meadow:


Watercolour Florals is another favourite with the beautiful rich green background- perfect summer dress fabric.  


You can find all the Tana lawn fabrics here alongside other makes of cotton lawn.  They all tend to be wider fabrics so good for circle skirts and great value for money too!
Also in the dressmaking section are a selection of knit fabrics including viscose jersey.  This tends to be lighter weight than most cotton jersey and has good drape.  This selection of viscose jersey fabrics includes spandex so that it keeps it's shape.  It falls on the body and hangs well even though it is light which makes it good for loose baggy shapes and gives them an elegance that cotton jersey won't give.  I wouldn't recommend it for tight shapes like knickers, or leggings as it doesn't have the resilience and stretch recall of cotton spandex jersey.  I recently bought this Pineapple jersey:


It is a little slippy to sew but quite manageable, especially with ballpoint pins and stretch sewing needles.   I sewed it on the machine and on an overlocker without any problems.  I'll show the top tomorrow- just putting a post together on it, but I am really happy with the result!   Another picture print on viscose spandex jersey is this cute monochrome Dalmatian print:


There are more restrained viscose jersey options like this slubbed flecked jersey, or graphite spots:


For all the quilting fans, Janet Clare's 'More Hearty Good Wishes', a second sea and marine inspired line for Moda has recently arrived.  This is Seagulls on natural.


And I really like the more abstract patterns in Pier in dark blue.


There are pre-cuts available as well as yardage- jelly rolls,  charm squares, layer cakes.

And to finish this month's visit, crazy rainbow unicorn fabric from Riley Blake!


All the fabrics in this line are on offer with 15% off while stocks last for this week only.  Enjoy x

sib blog